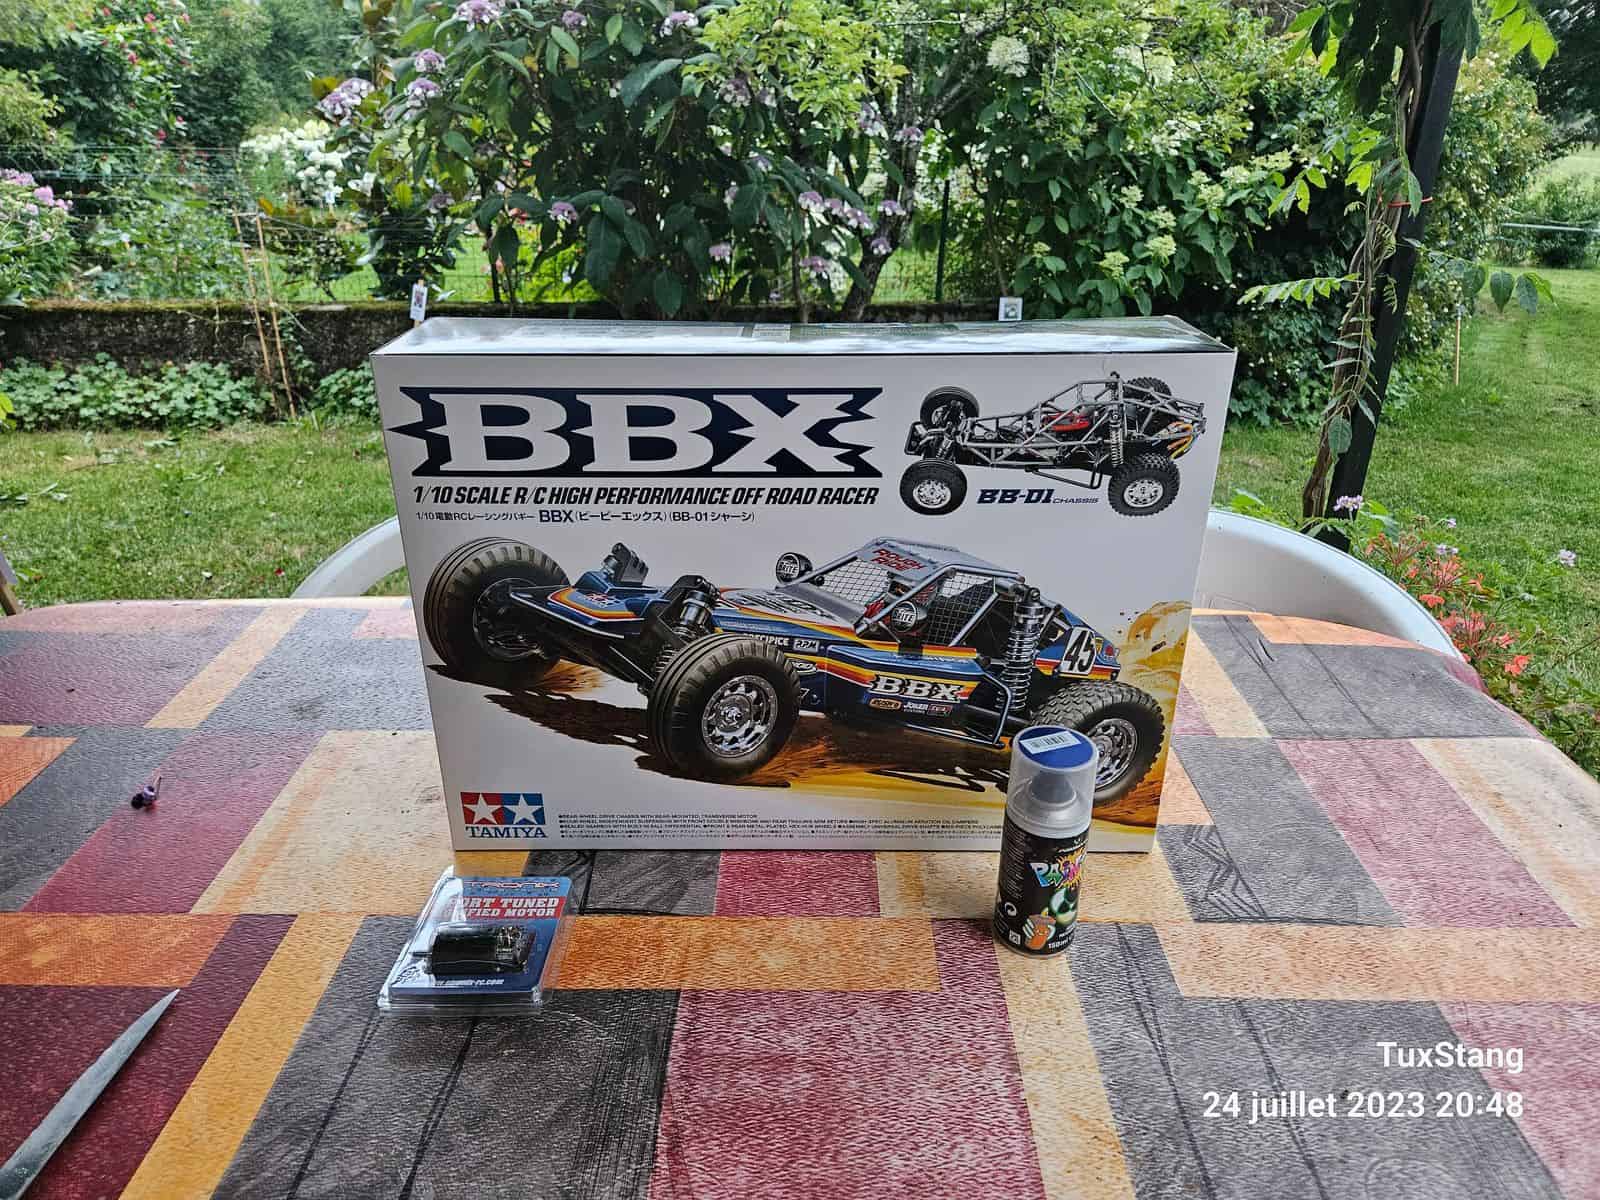
I pre-ordered my BBX shortly after the SBG build video. It was listed for July 20th and I was on holidays on July 24th…couldn’t have planned it better.
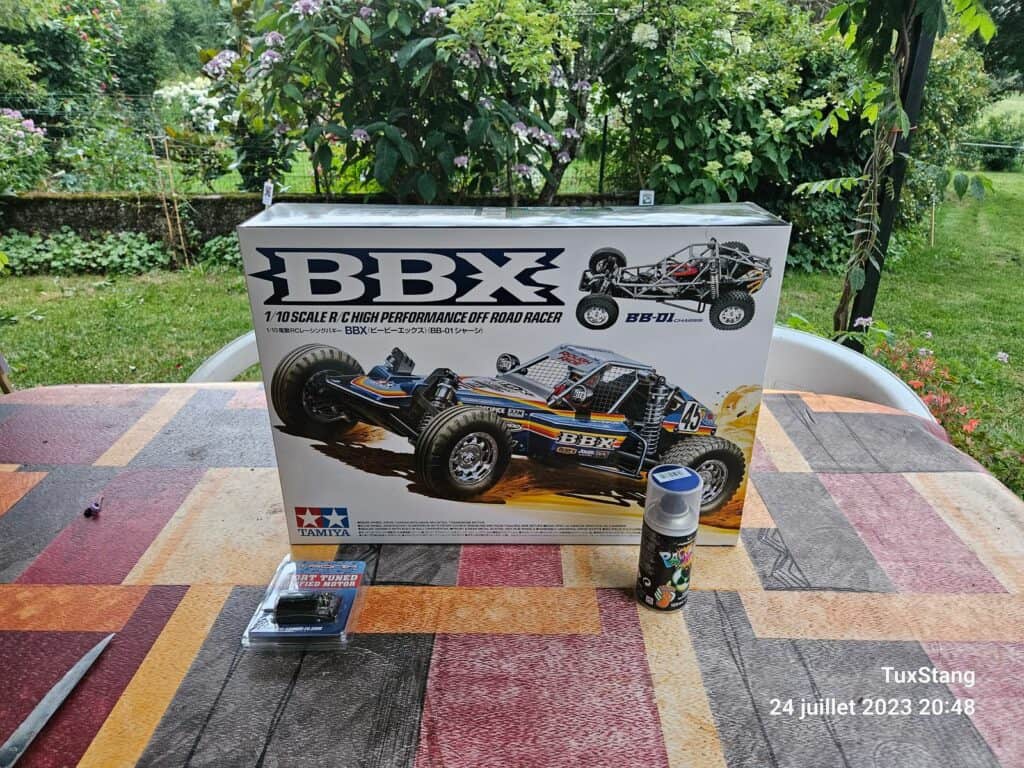
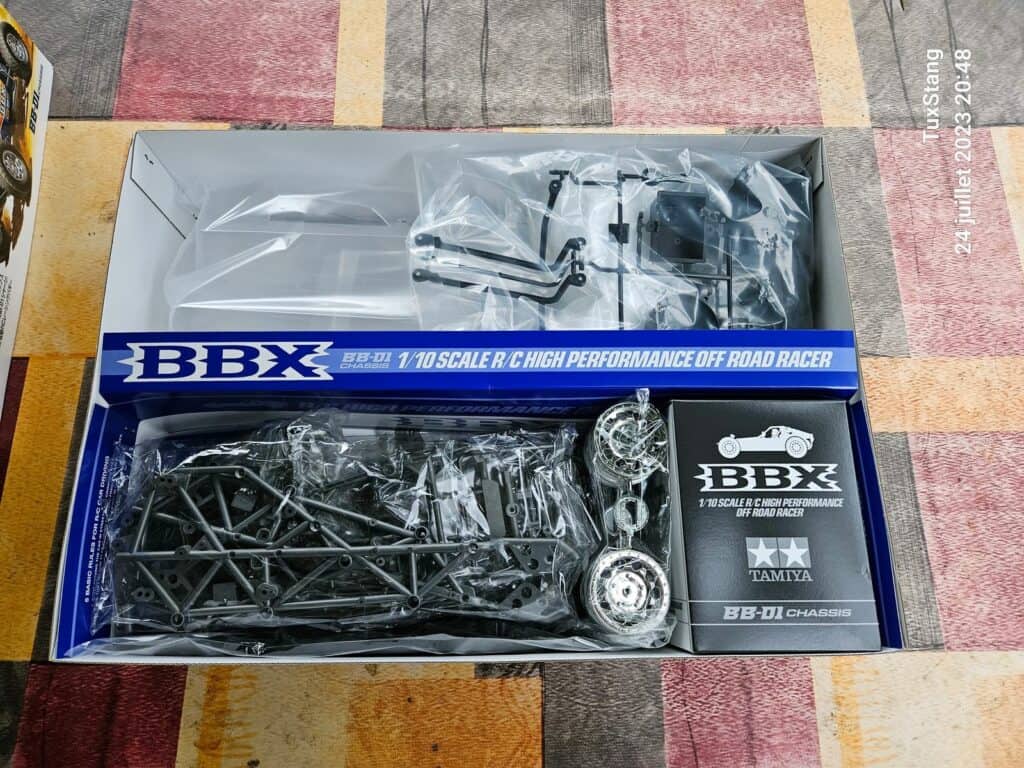
There’s not much to say about the unboxing, it’s the usual Tamiya box.
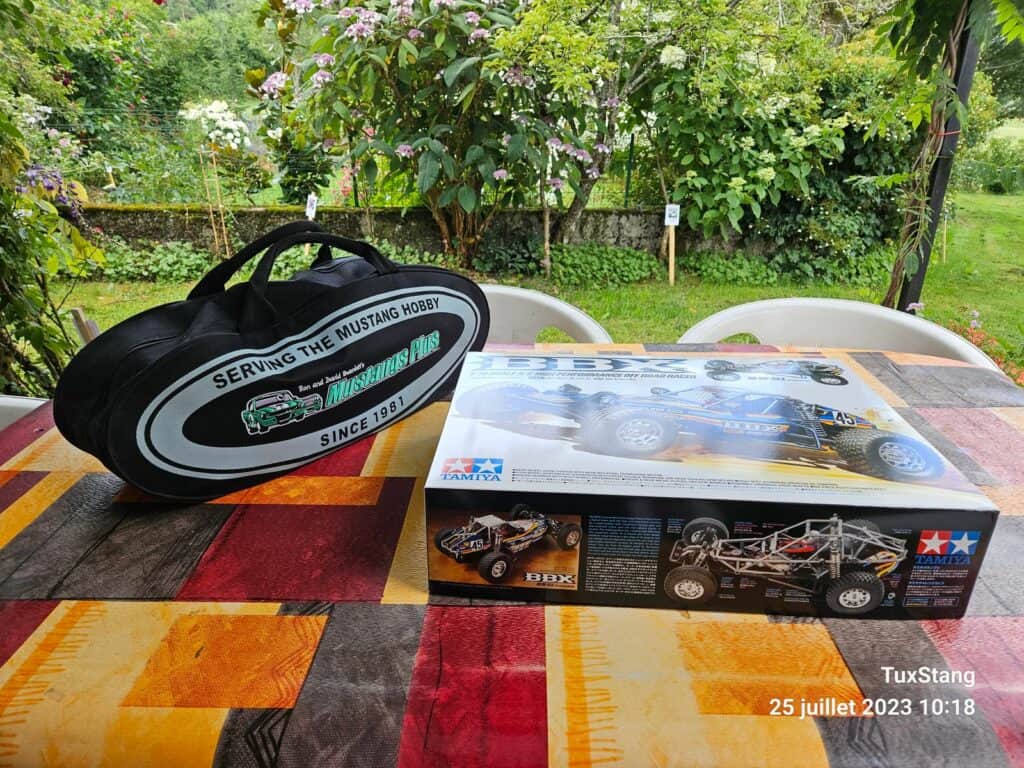
Of course, a special tool bag was essential because there are hardly any tools here, apart from gardening ones.
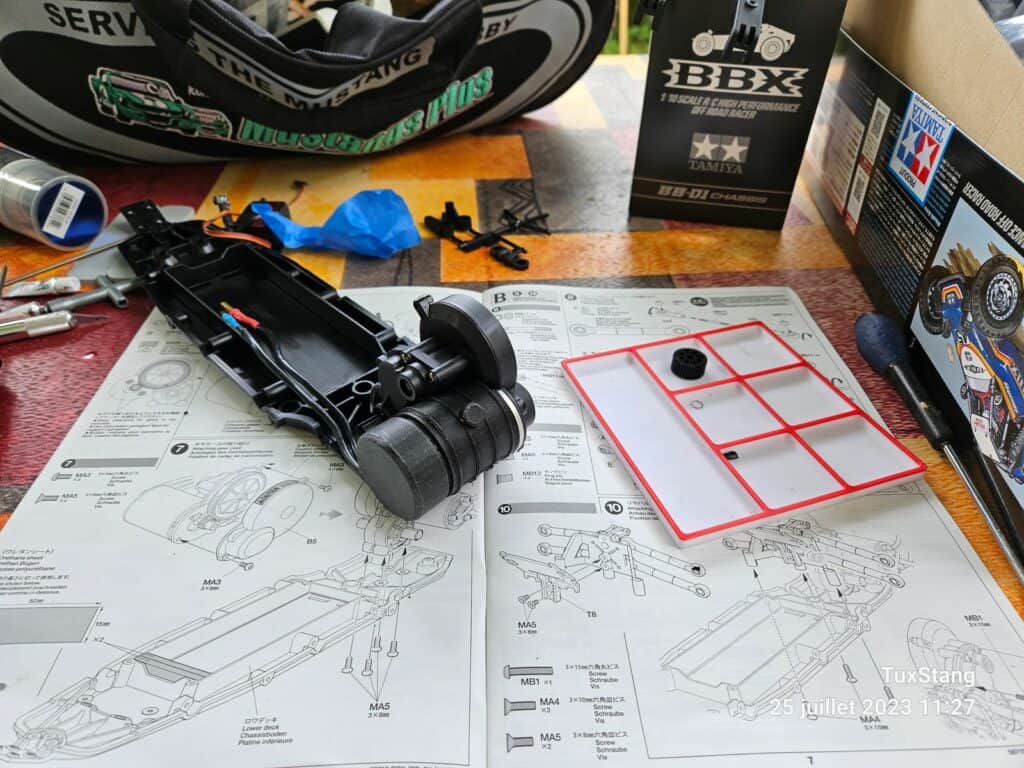
The gearbox went together almost like a breeze…
It was my first ball bearing differential, so the stray cats ran away very quickly, they are not used to bad language… but overall, nothing special.
Before leaving I had printed a motor wire cap I had designed for my FAV (still WIP) a few years ago and a motor cover to get the fuel tank look… they need some tweaking and will be reprinted when I get home.
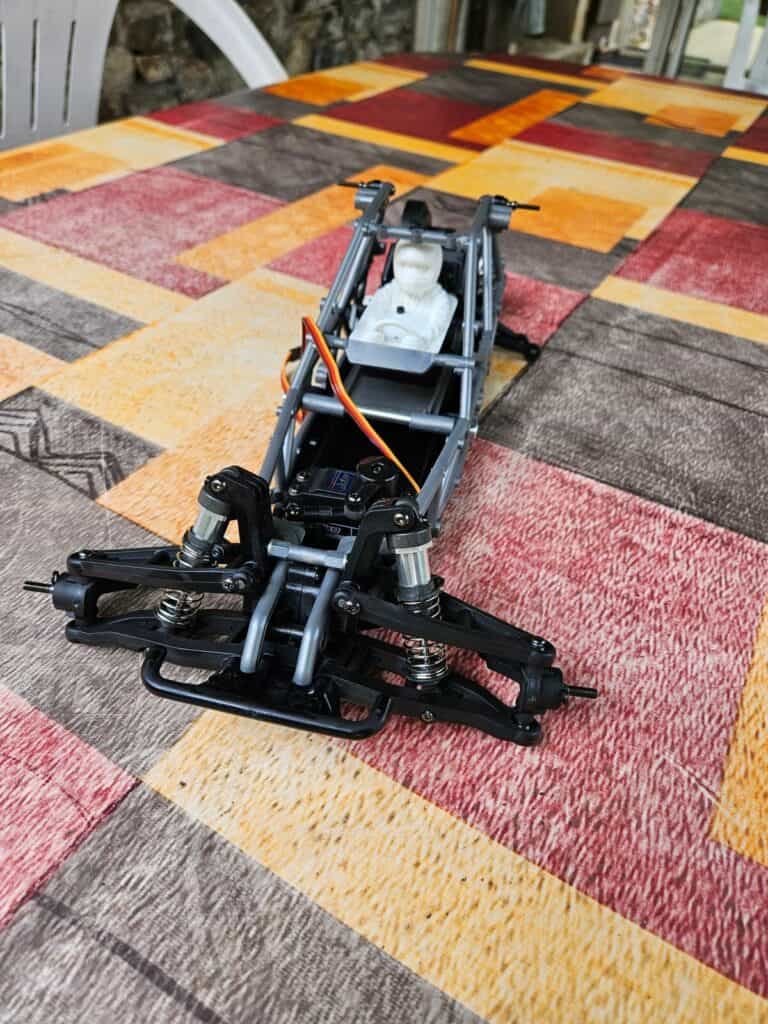
This kit is not only about bearings and hex screws but also steering with virtually no play… makes you wondering if you are really building a Tamiya kit…
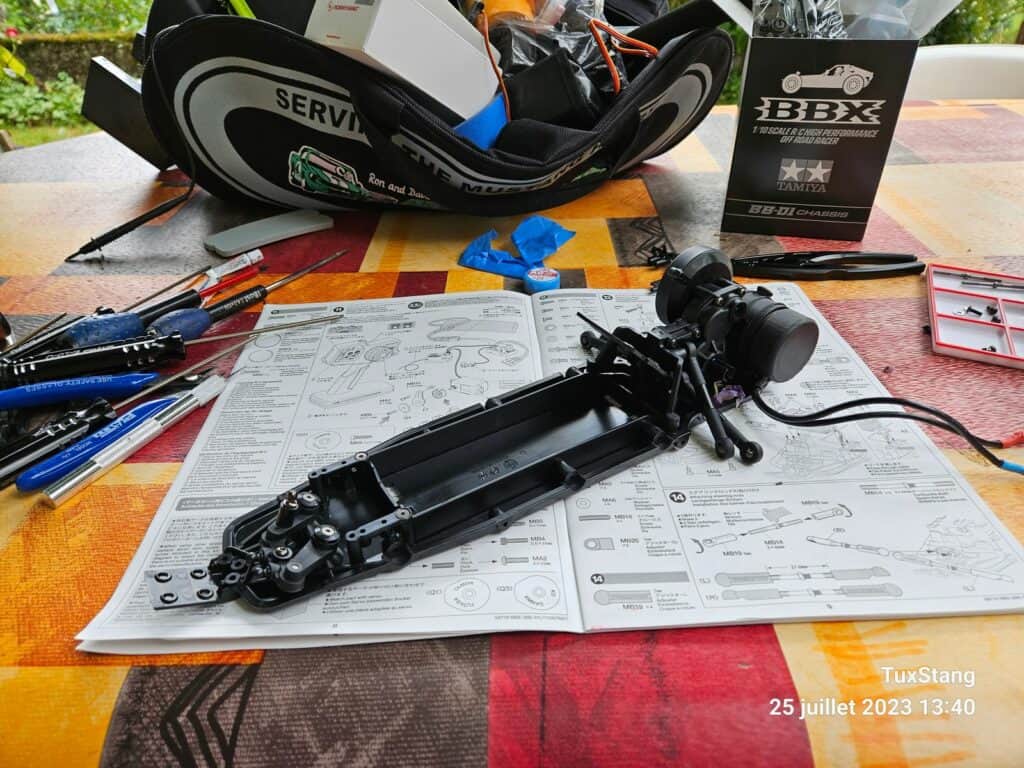
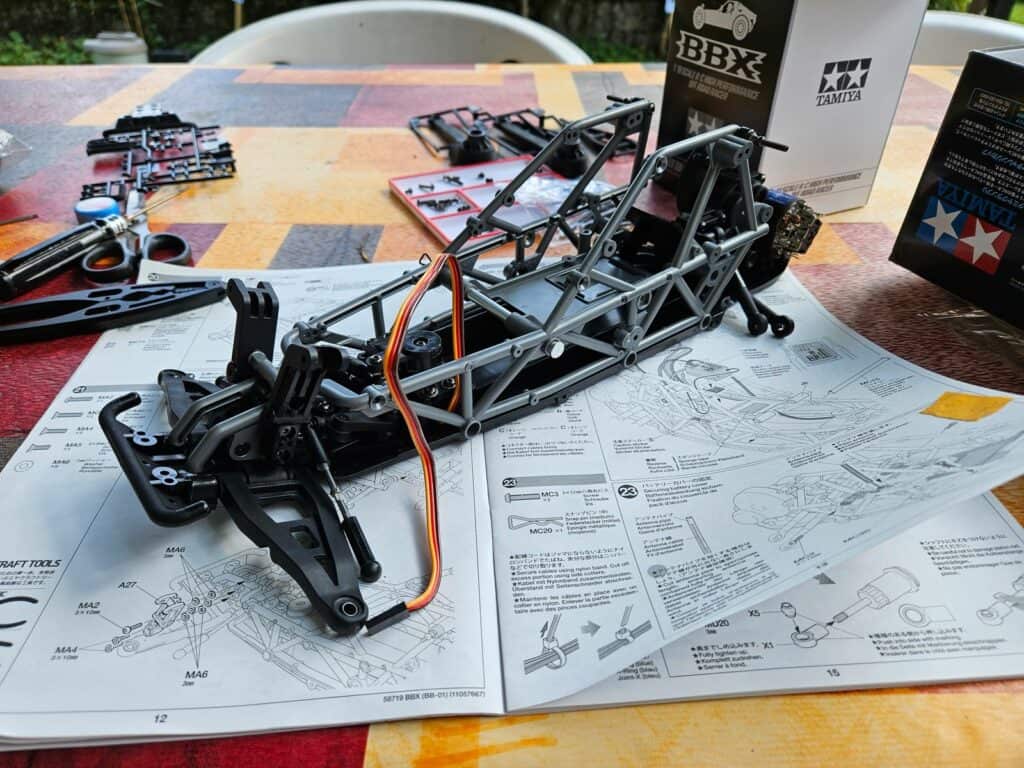
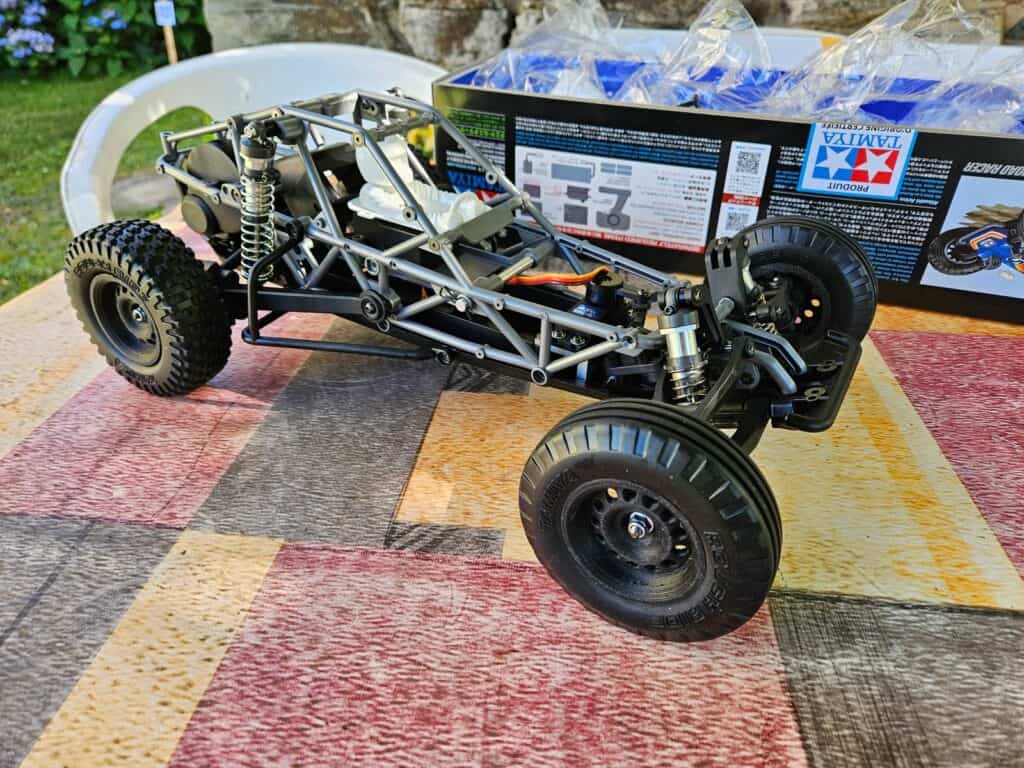
Here it is after the first day of assembly… despite some modern attributes, it is still a Tamiya kit, with labeled screw bags filled with smaller screw bags whose logic is not always clear, and clusters of parts to constantly sort through to find the right one.
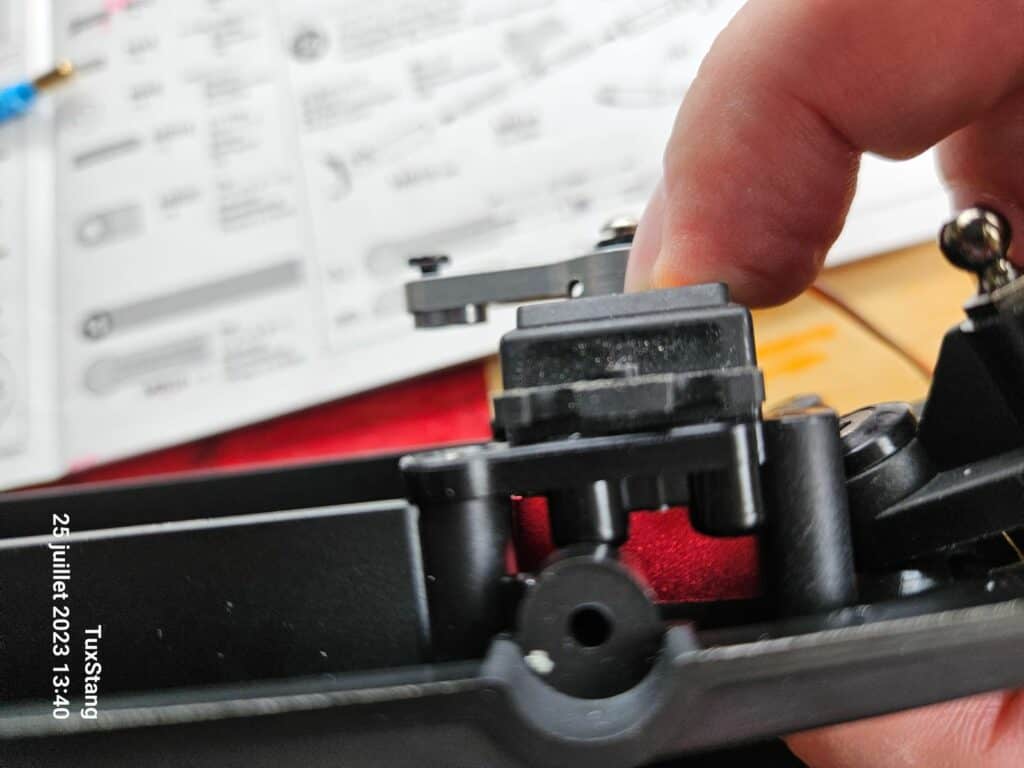
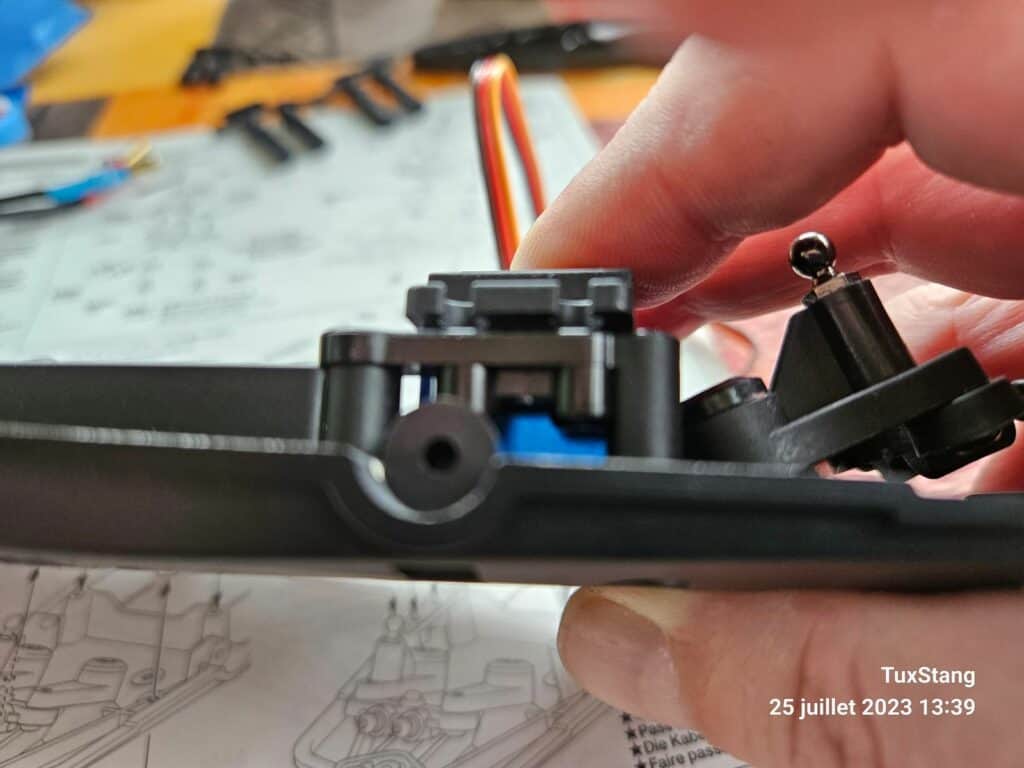
Be careful with the low profile steering servo… according to the manual it should be 17mm below the ears… I had ordered a SPT servo from Amazon before the manual and it ended up being 2mm too high… like my other low profile servo from the VT100 servo which was 1mm too high. However the kit includes 2mm spacers to put under the ears… so I installed the SPT but I’m not sure if it will fit yet… I’ll know later when it’s time to install the body panels.
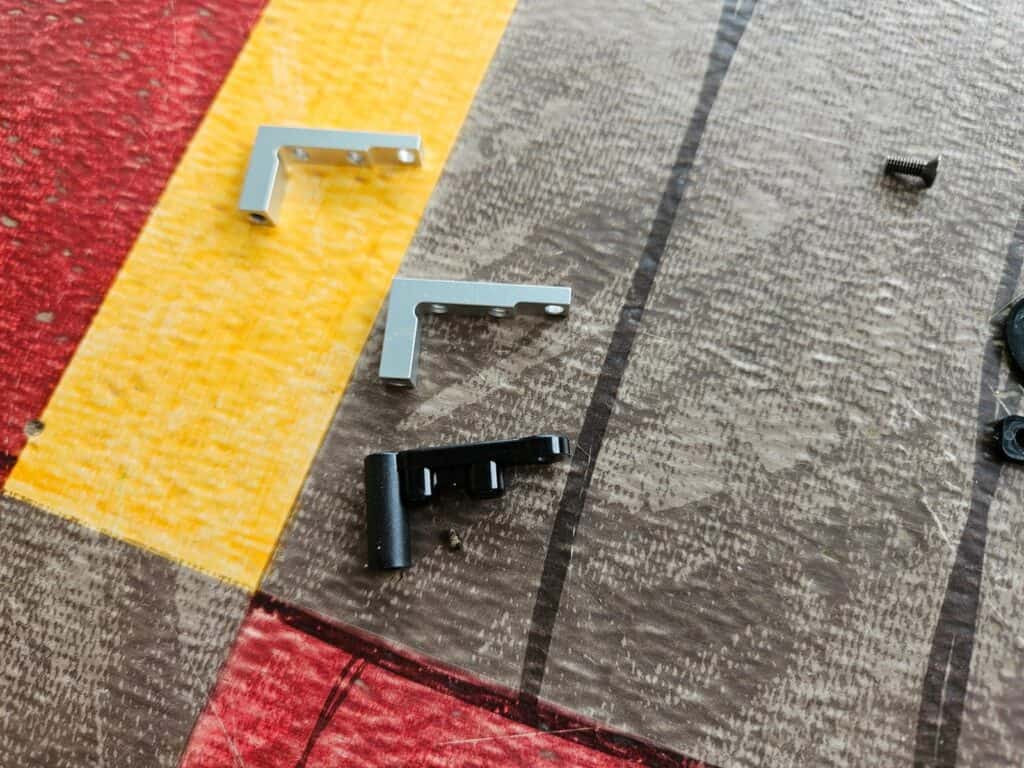
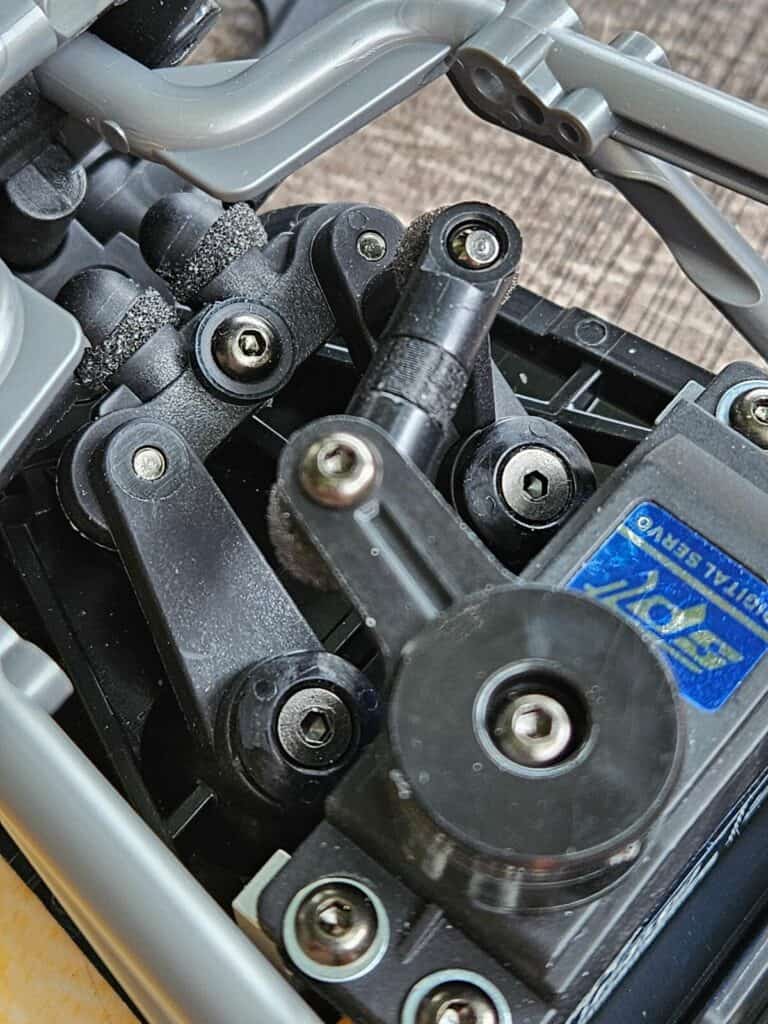
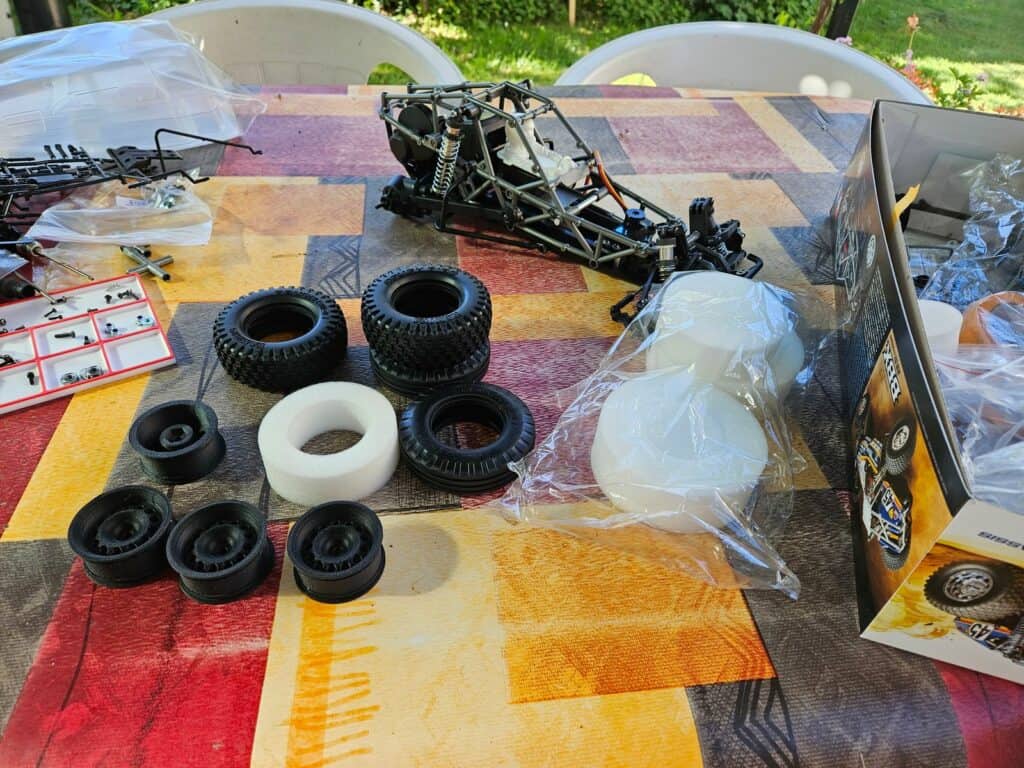
Today was a short day… I received the add-ons I ordered before leaving. Foam for the pivot points and aluminum servo mounts.
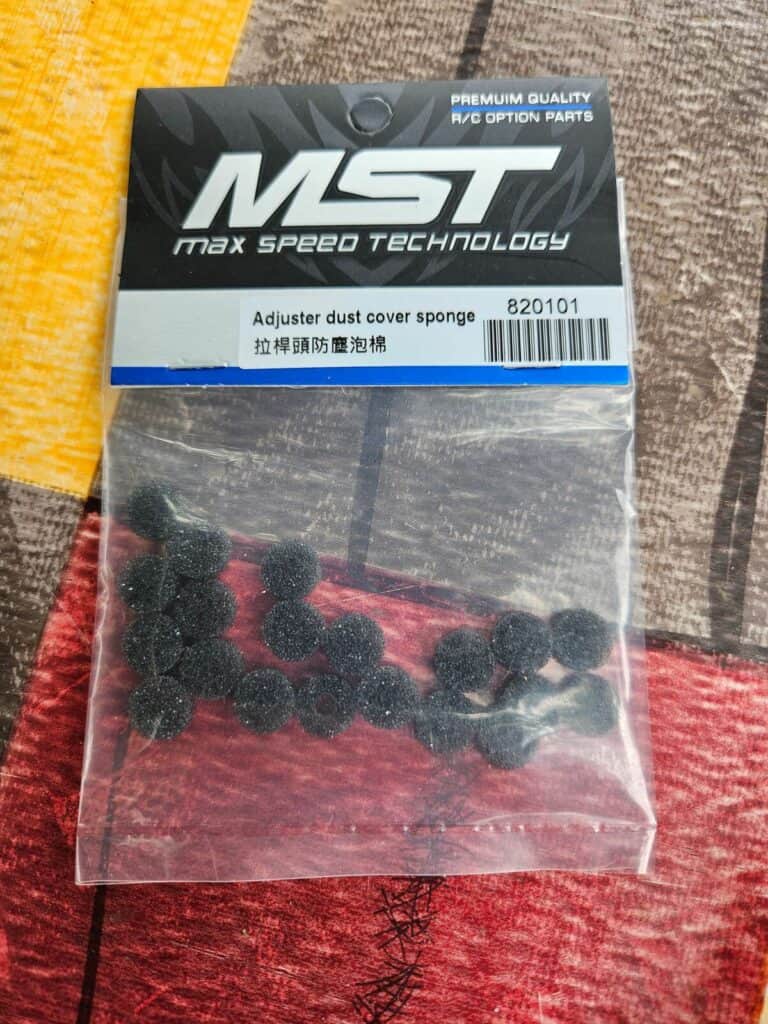
Surprising that Tamiya did not include these foams … on a leisure buggy intended to drive on environments that are not stabilized, this is not to be neglected …
The spacer on the servo rod is not included, I had printed it in advance … a good way to have a rod with the right size while filling the space between the 2 ball joints.
The driver assembly is a bit confusing… while the spacer makes sense under the driver’s head, there seems to be one missing at the driver’s arms… yet nothing is provided.

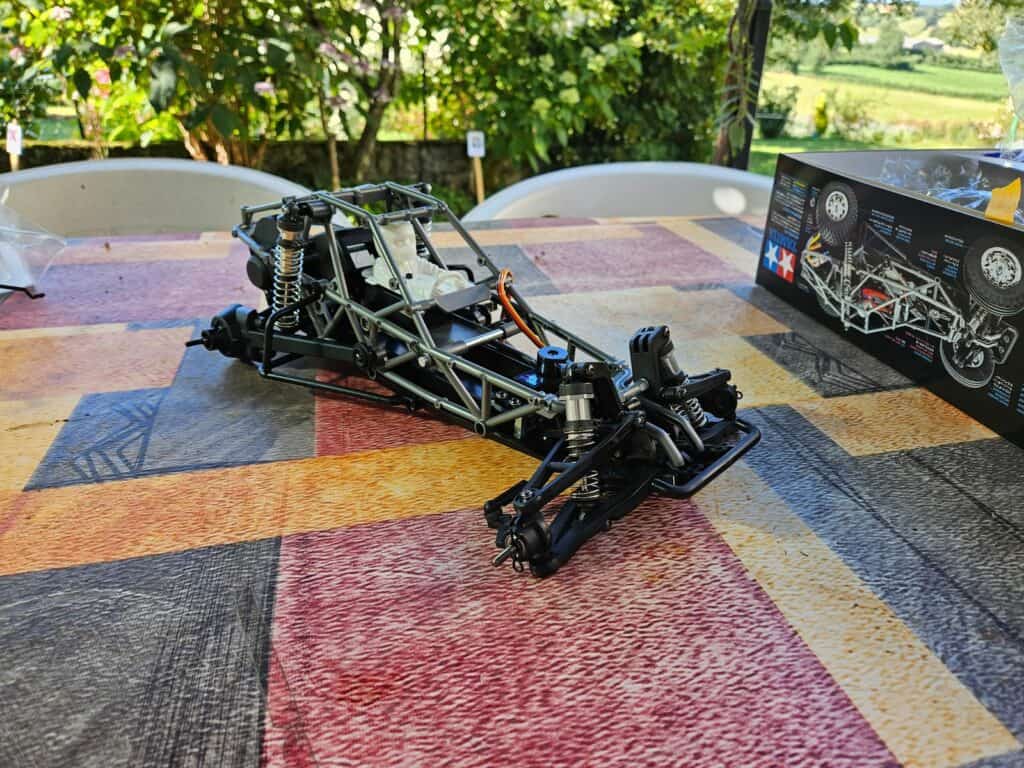
Shocks are always a fun part in every kit…be careful with the part numbers in the parts sprues, don’t use the same part numbers for front and rear pistons.
This morning started with the rear trailing arms and shocks. Nothing too difficult, but a little tricky bolting the trailing arms to the links … There’s always either the driveshaft or a bushing trying to figure out if there’s anything worth doing elsewhere.
This is where you’ll need to install the driveshaft boots you see below if that’s what you’re planning on doing (see below)
For the rear shocks, make sure you select the correct piston in the parts tree. They all look the same, but their holes are different.
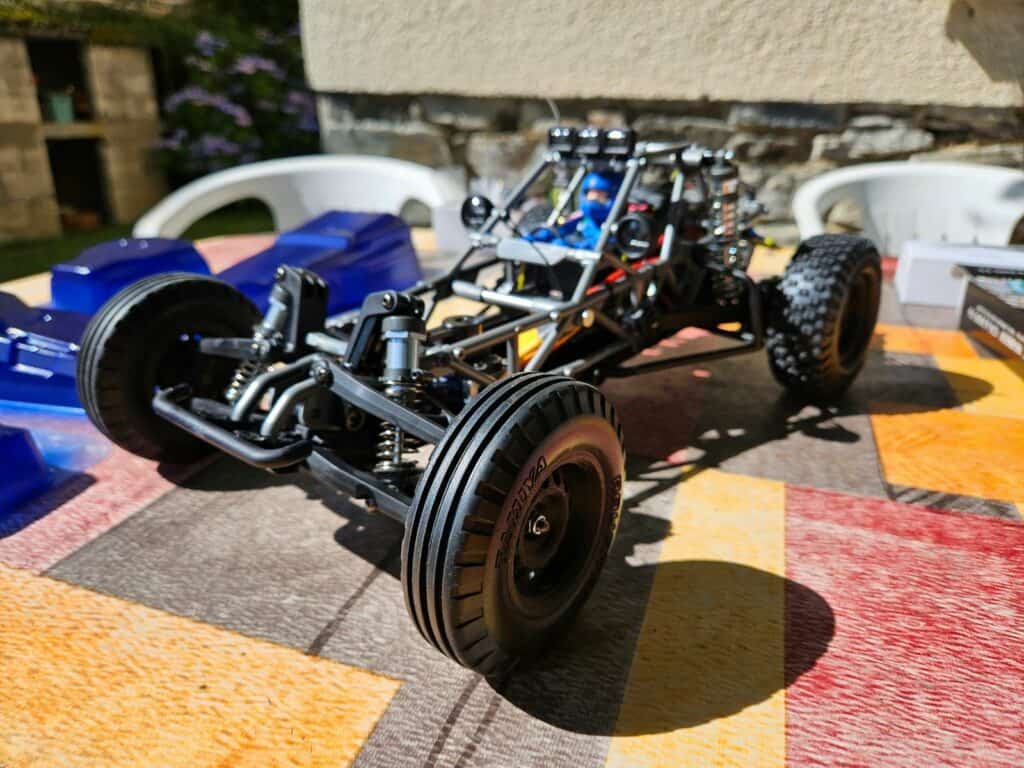
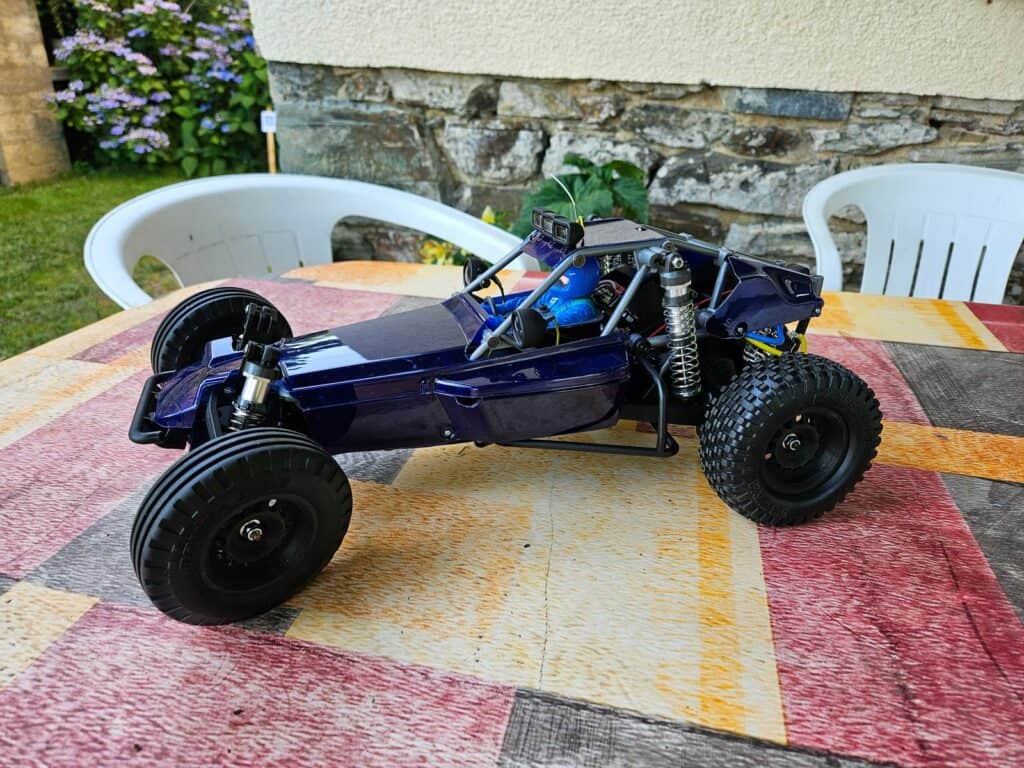
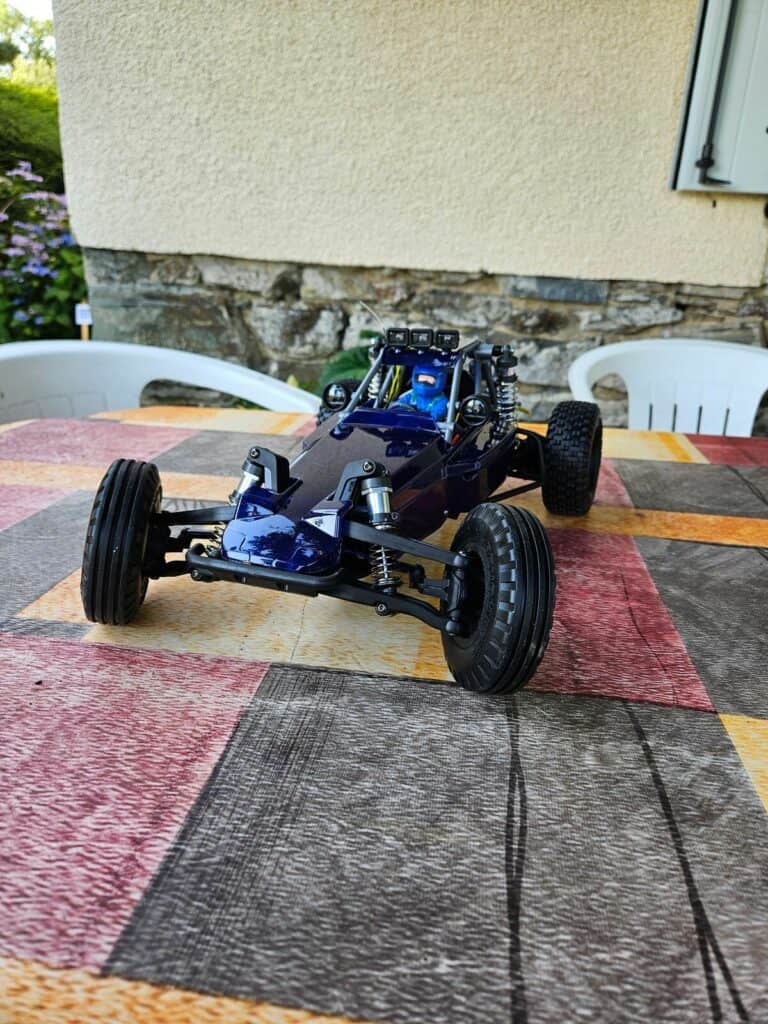
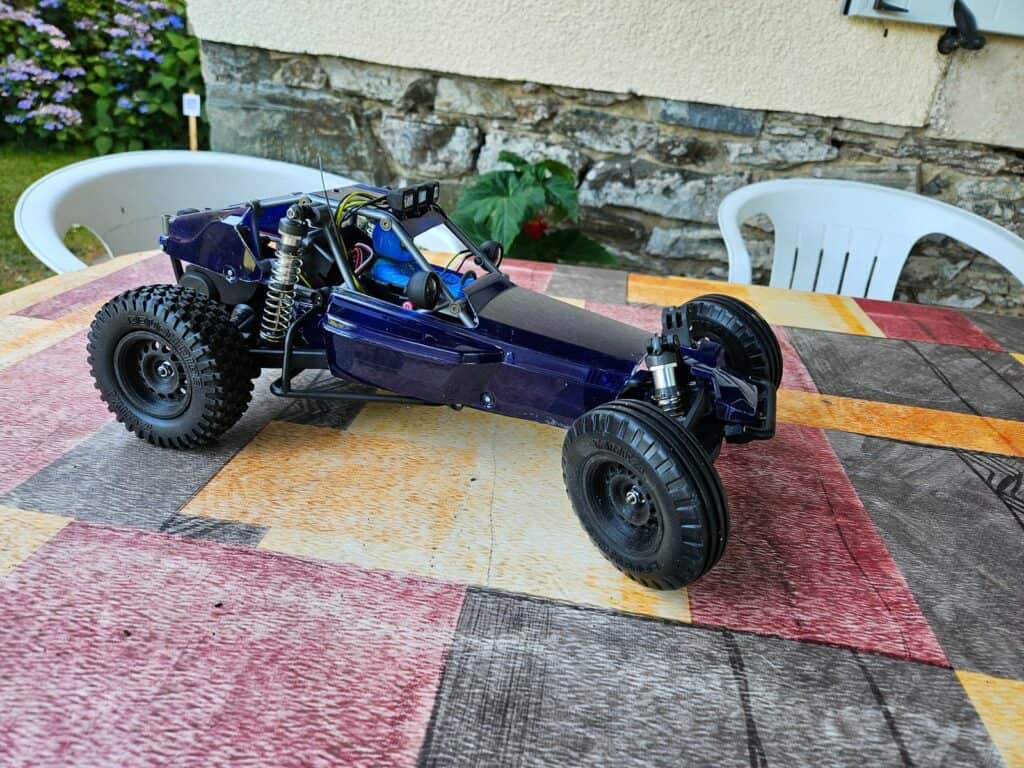
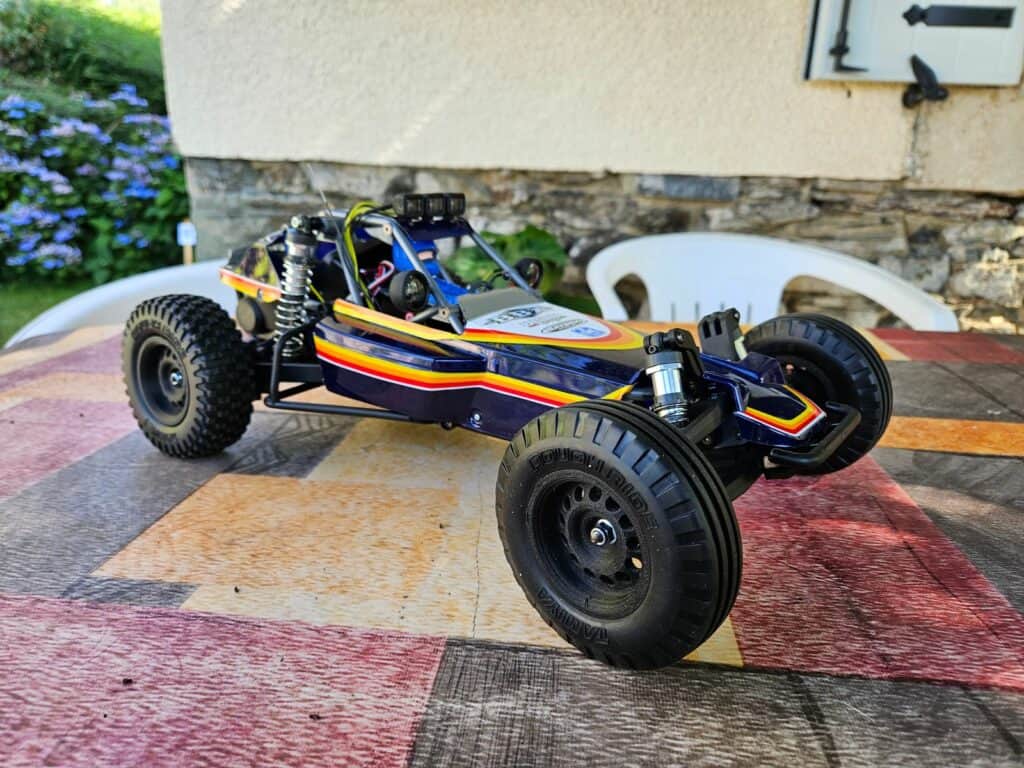
Now the wheels… I don’t like the chrome of the originals, so before leaving I printed a set I found on Thingiverse, in PETG-CF. The foams are stiff and fill the tires completely. They take a while to seat completely.
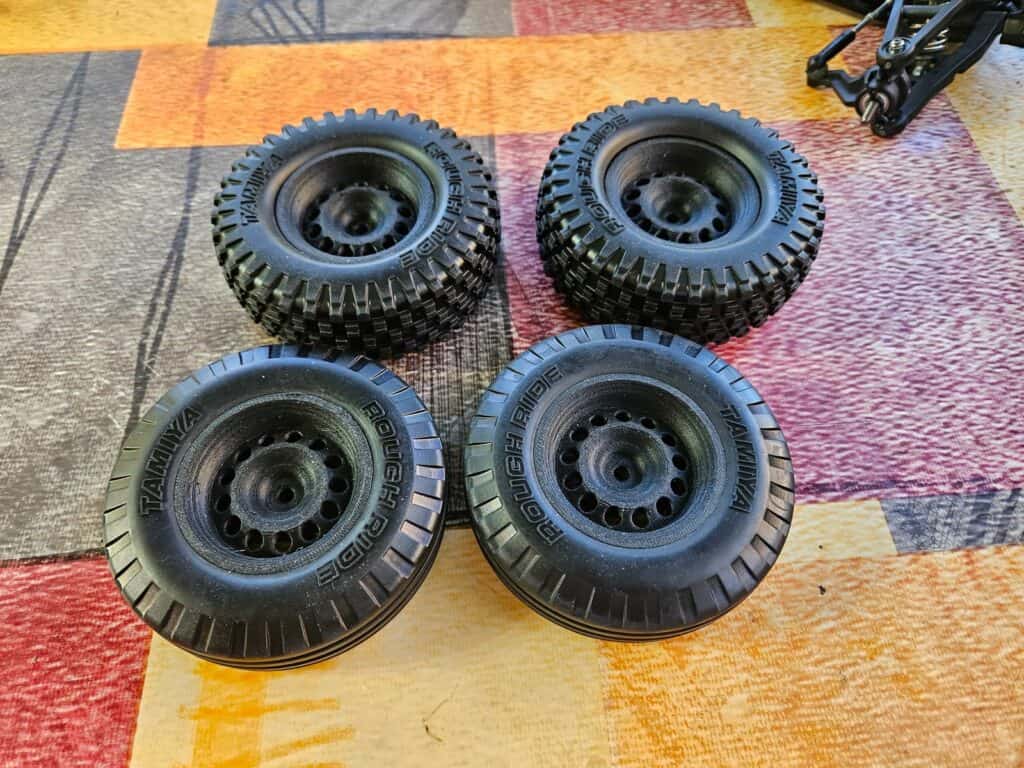
I like it better with black rims…
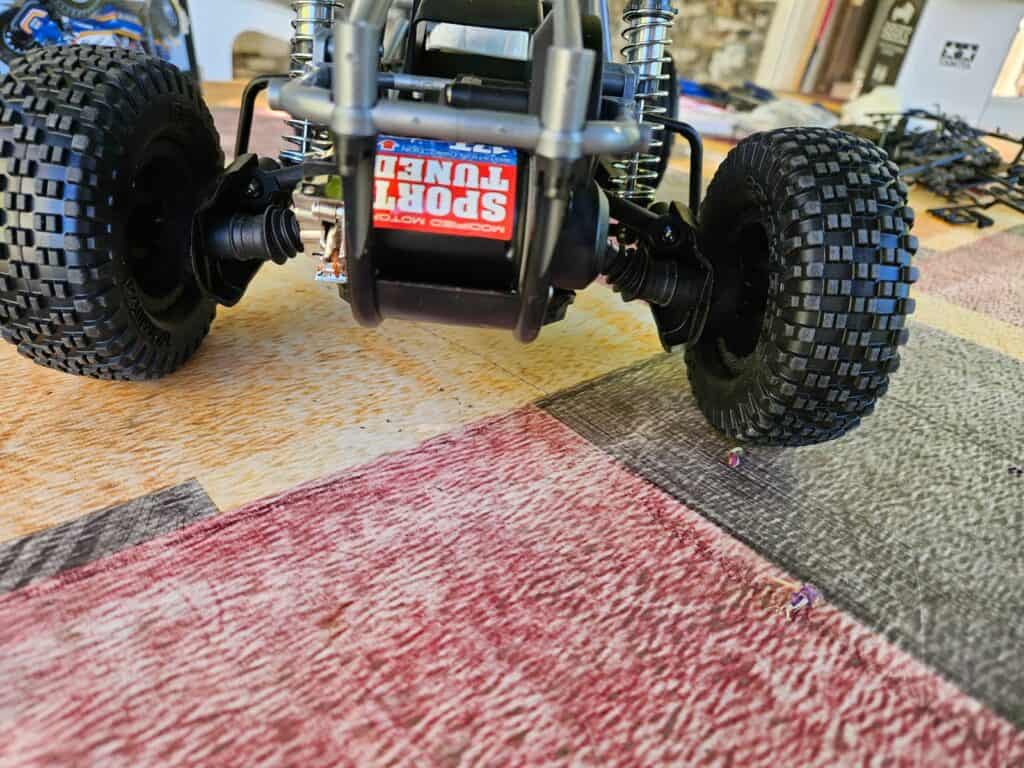
This is not part of the kit or its options. These are FAV/Monster Beetle driveshaft sleeves. You need two sets because if you cut them right they will be too short. Sure it looks a little odd … but I like it better than the bare driveshaft.
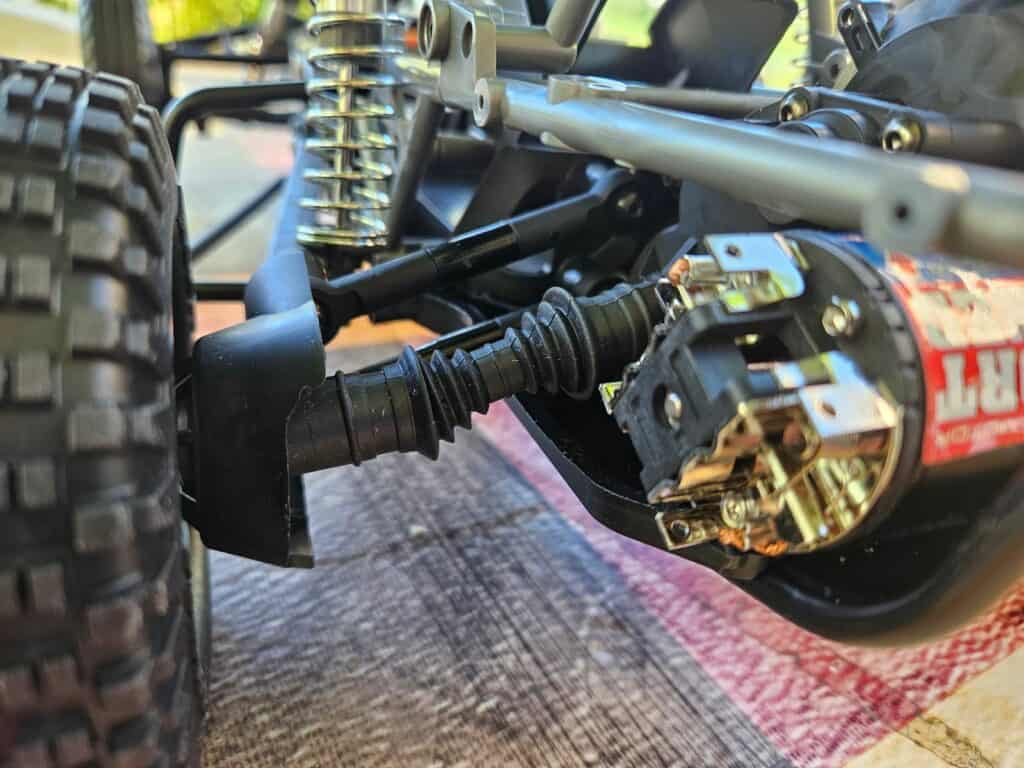
If you plan on doing this, it’s best when installing the trailing arms…I did it later and it was a chore.
The ESC will be a 1080… I haven’t found a way to mount the ESC70 without tinkering with the cover. Since I won’t be using side nets, the on/off switch is glued to the base of the driver.
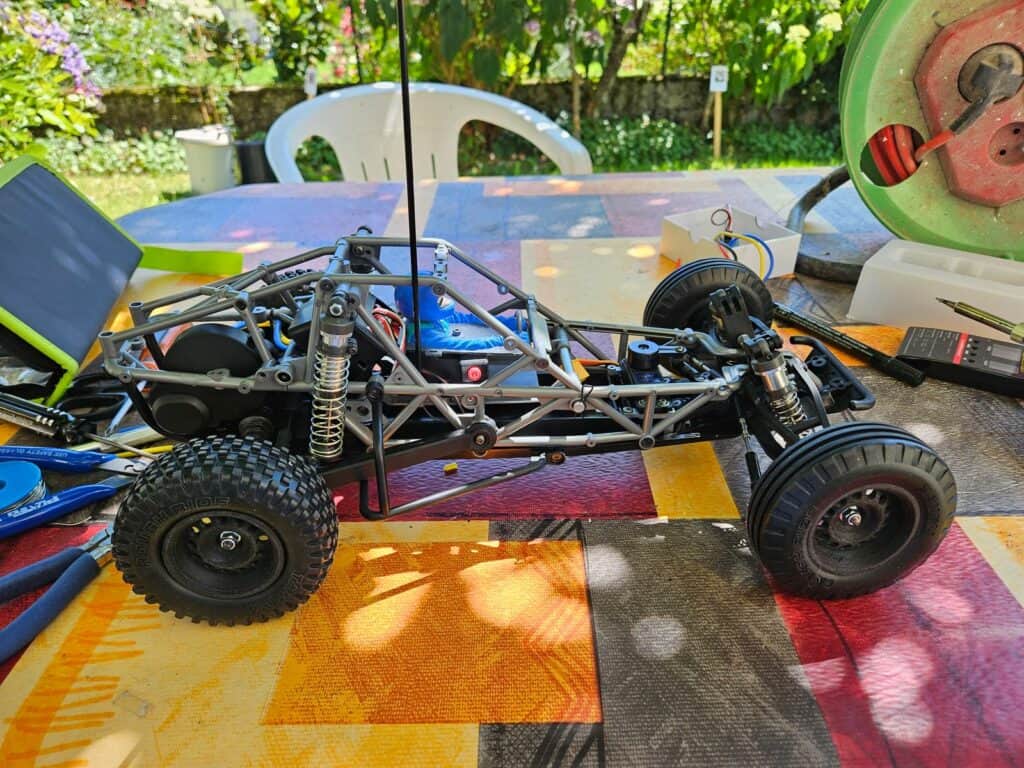
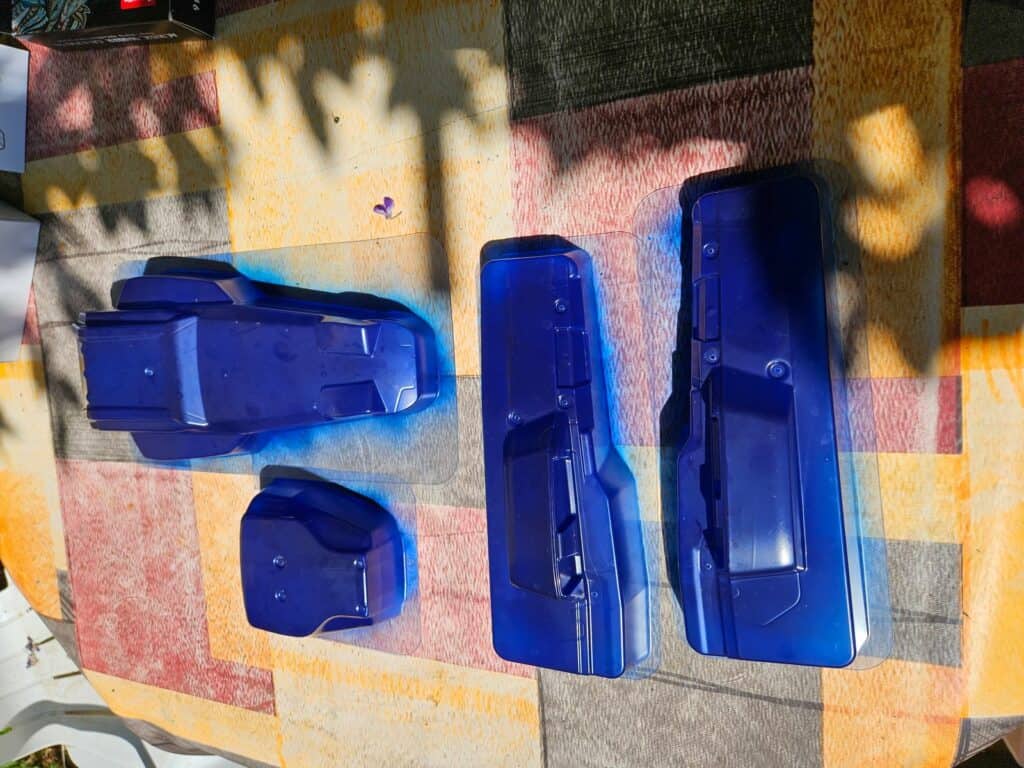
Body parts are drying in the sun, I’ll cut them tomorrow.
In the meantime, I’ve been working on the lighting. There will be two sides and three on the roof. I’ll continue tomorrow… it’s too hot to work outside now.
Cutting the bodywork is tedious. Better to cut it before painting, the paint will appreciate it. And it’s better not to do it with two left hands full of thumbs and only one eye … and it won’t help if the blade of your X-Ato starts to get a little dull.
First tests in 3s and 18T pinion … and non-glued tires 😀
Second attempts, in 3s and 27T pinion … an improvised ramp a little narrow and the tires glued this time